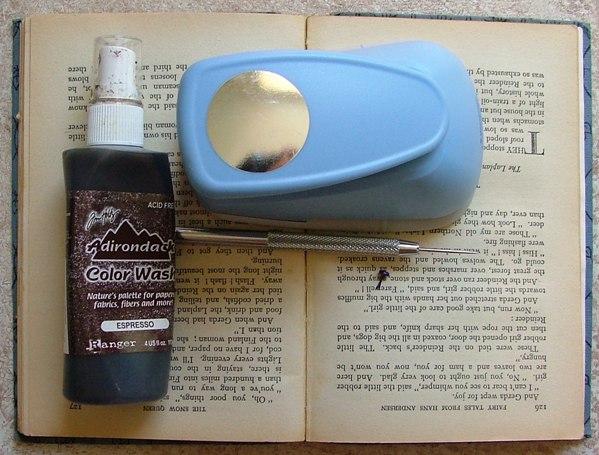
You will need...
- A circle or scalloped circle punch (on my cards I used the super scalloped circle, for this demo I have used the super circle from Woodware)
- An old book (yellowed pages are good!)
- Paper Piercer
- Brad (any colour will do as you don't see it)
- Mists (on this example I used Adirondack Espresso and then decided I wanted to add a second colour so added Radian Rain Mister Fern)
- An old cardboard box (or lots of scrap paper)
Punch out 6 circles from your book. Stack the circles roughly on top of each other. They don't have to line up.
Step 2
Using your paper piercer make a hole roughly in the middle all the way through the stack of circles. Add a brad to hold the circles together.
Step 3
Lift the edges of just the top circle and scrunch into the middle into a tight knot in the middle. It should cover the brad. Spritz the flower in your box and then scrunch the second layer into the first. If you don't like getting inky fingers then you will want to wear gloves for this stage.
Step 4
Repeat for each subsequent layer. If you are using a dark colour of mist like the espresso you may want to mist only every other layer.
Step 5
Make sure you leave the final layer flat as this is what you will use to stick your flower down. You can leave your flower like this and it would be done or continue as below...
Step 6
Un-crumple your flower and re-crumple one layer at a time so that you have some of the paper with no ink showing revealed. Again you can leave the flower like this
or if you prefer as I have done add a second colour of mist. I added a lighter colour and one with some glimmer in it (the Adirondack mists are the only ones I know of that don't have glimmer in them.)


These are gorgeous!
ReplyDeleteSue x